This ONLY works from OFF Campus.
If trying to connect to VPN while on campus, the connection will not work.
Install VPN
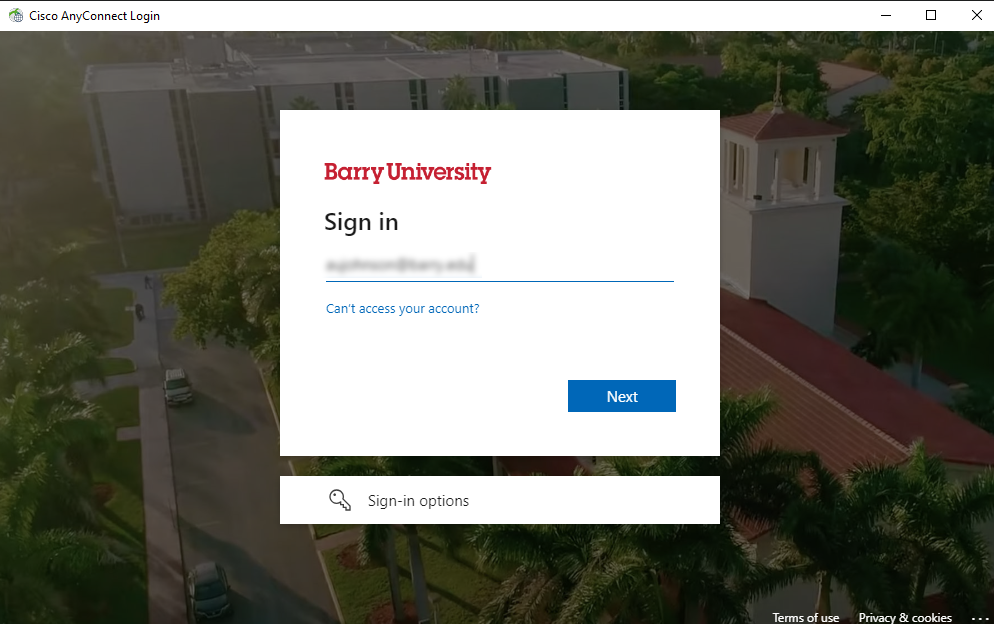
- Go to vpn3.barry.edu
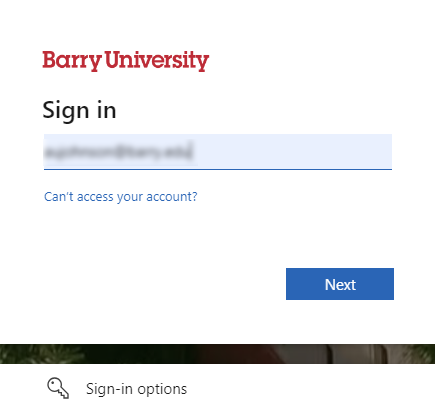
- Enter your email address, click Next
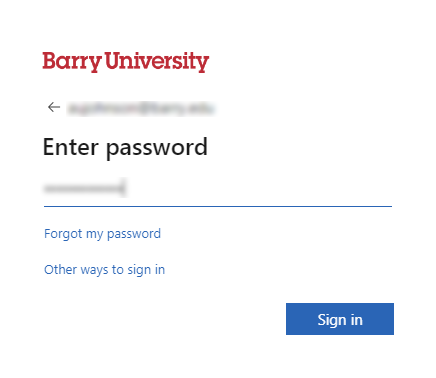
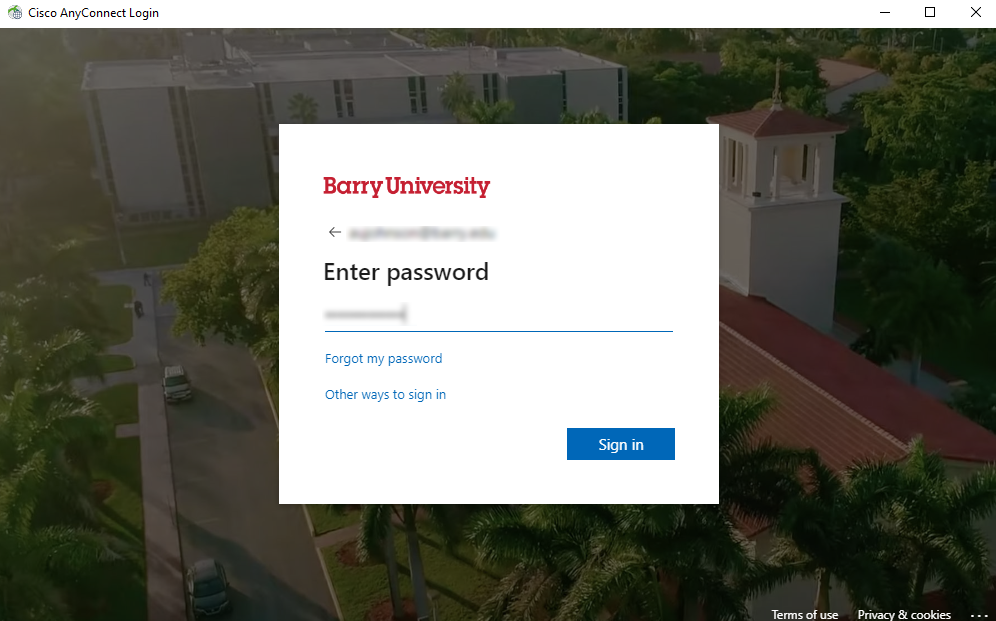
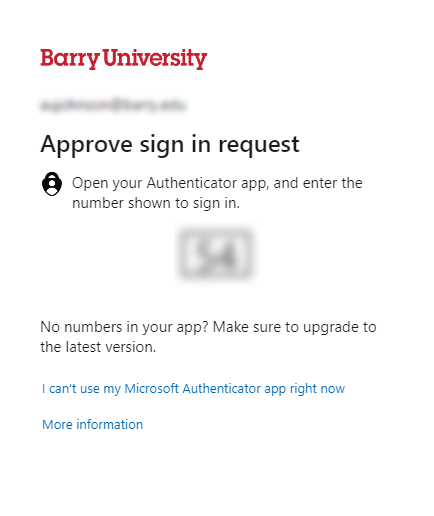
- Enter your password or the authentication code.
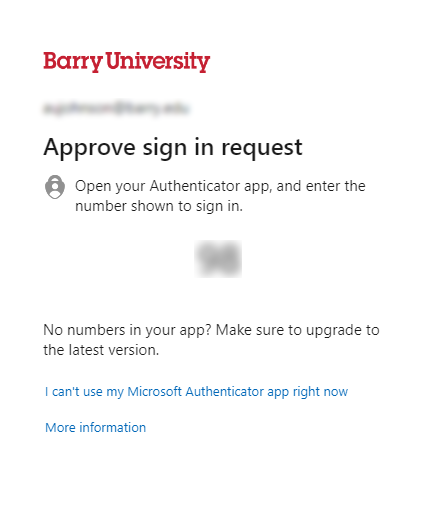
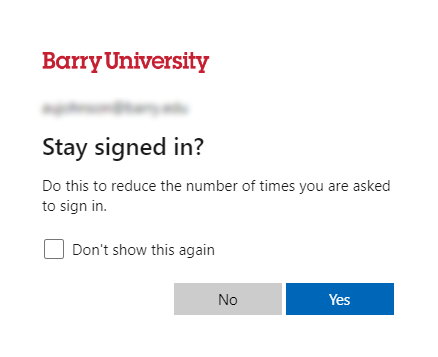
- Click Yes to stay signed in on your personal computer.
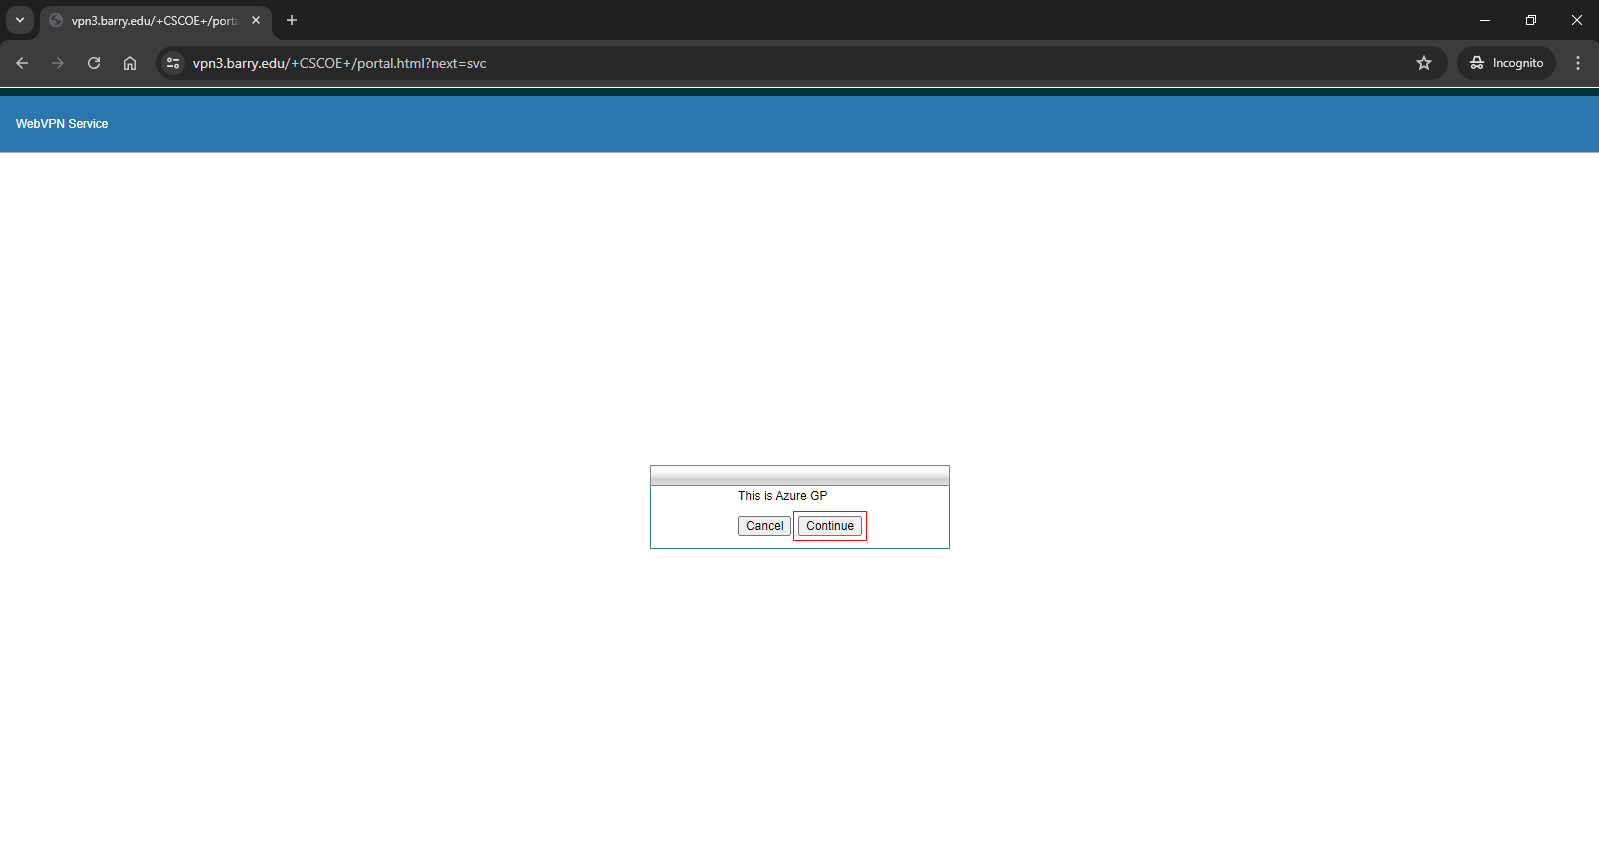
- On the WebVPN Service page, click Continue.
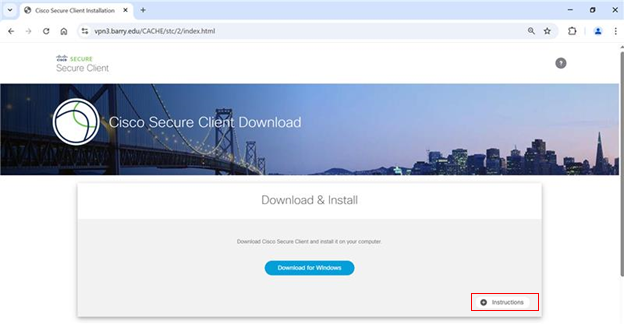
- On the Cisco Secure Client Download page, click the Instructions button for information on installing the VPN client.
- The steps to install the VPN client will appear on the screen below the Download for Windows and Instructions buttons.
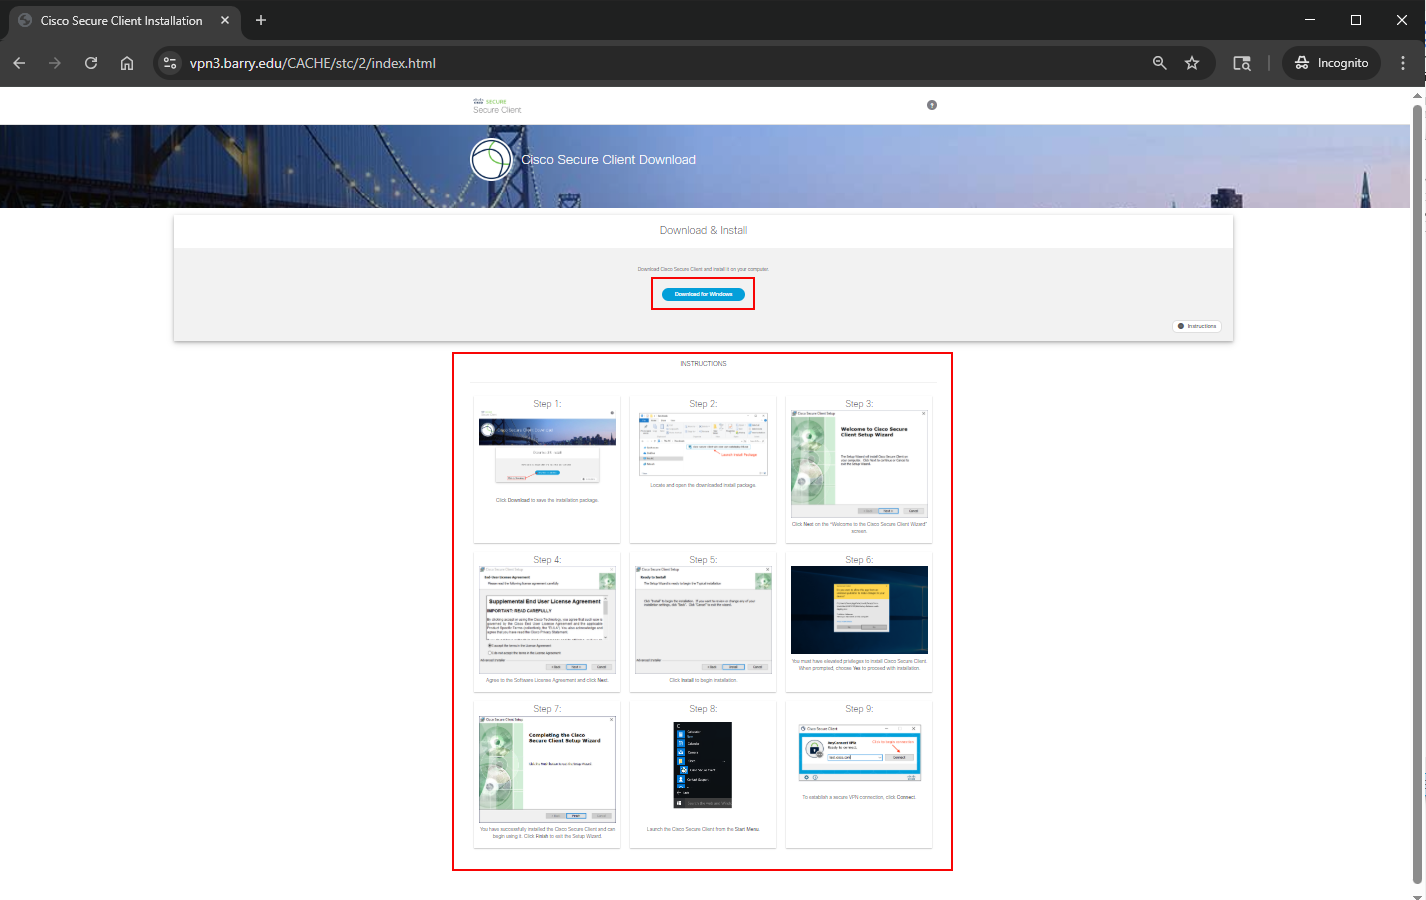
- When you click on an image the instruction steps will open in a new tab on the web browser. Click the Download For Windows button and follow the steps to install the VPN client.
- When installing on macOS computers, you may see the following error/alert message:
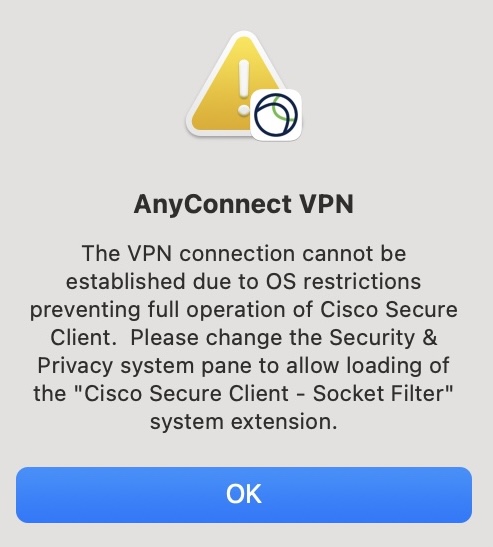
To properly enable the Cisco extension, do the following:
Try this first:
- Open System Settings, scroll down and click Privacy & Security.
- Scroll down a little, and if you see anything asking to "ALLOW", allow it (that would be the extension to load).
If you don't see an "ALLOW" item...
- Scroll back up and click General (on the left), then on the right scroll down a little and click Login Items and Extensions.
- Look for the Cisco extension and allow it (turn on the toggle).
- After allowing in either of the steps above, you need to REBOOT, then try using the VPN client.
- After installing the VPN client restart you computer before logging in.
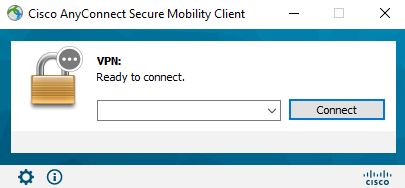
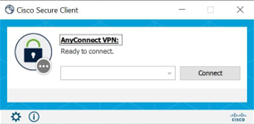
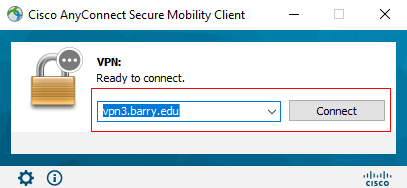
Connect to VPN
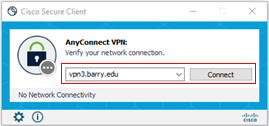
- Click the Start button, go to C for Cisco then select Cisco Secure Client. In the Ready to Connect box enter vpn3.barry.edu and click Connect
| Old 4.1.X |
New version 5.1.8.122 |
 |
 |
 |
 |
- Enter your email address, password, authentication code, and click Yes to stay signed in on your personal computer.

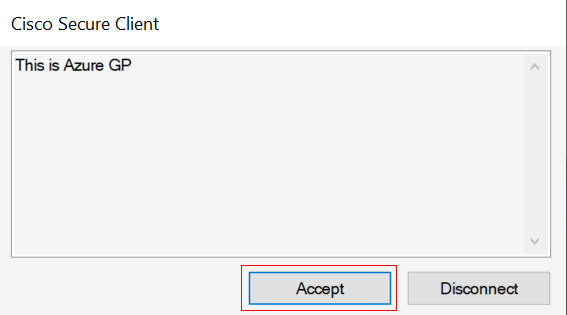
- On the Cisco Secure Client dialog box click Accept.
Note:
If a new VPN client version is available, it will be detected, then automatically downloaded, installed and ran before your VPN connection is finished.
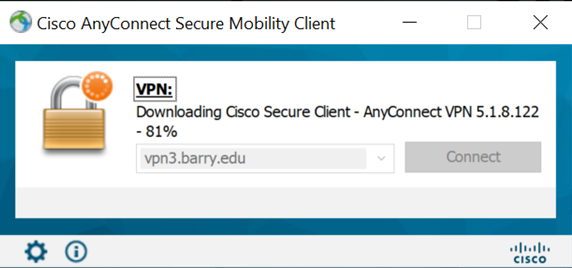
When finished (see the next step).
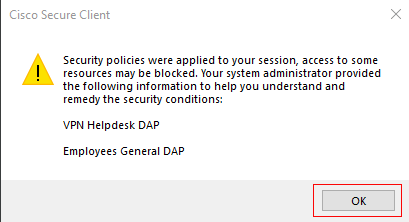
- A policy message may appear click OK.
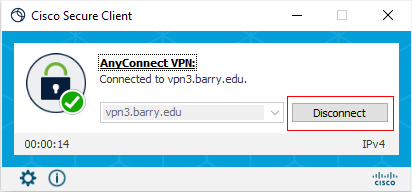
You are now connected with VPN, you will see the Cisco AnyConnect VPN:Connected icon,  in your Taskbar.
Disconnect from VPN
Click the Cisco Secure Client:Connected icon, , in your Taskbar, the Cisco Secure Client dialog will appear, click the Disconnect button to end your VPN connection.